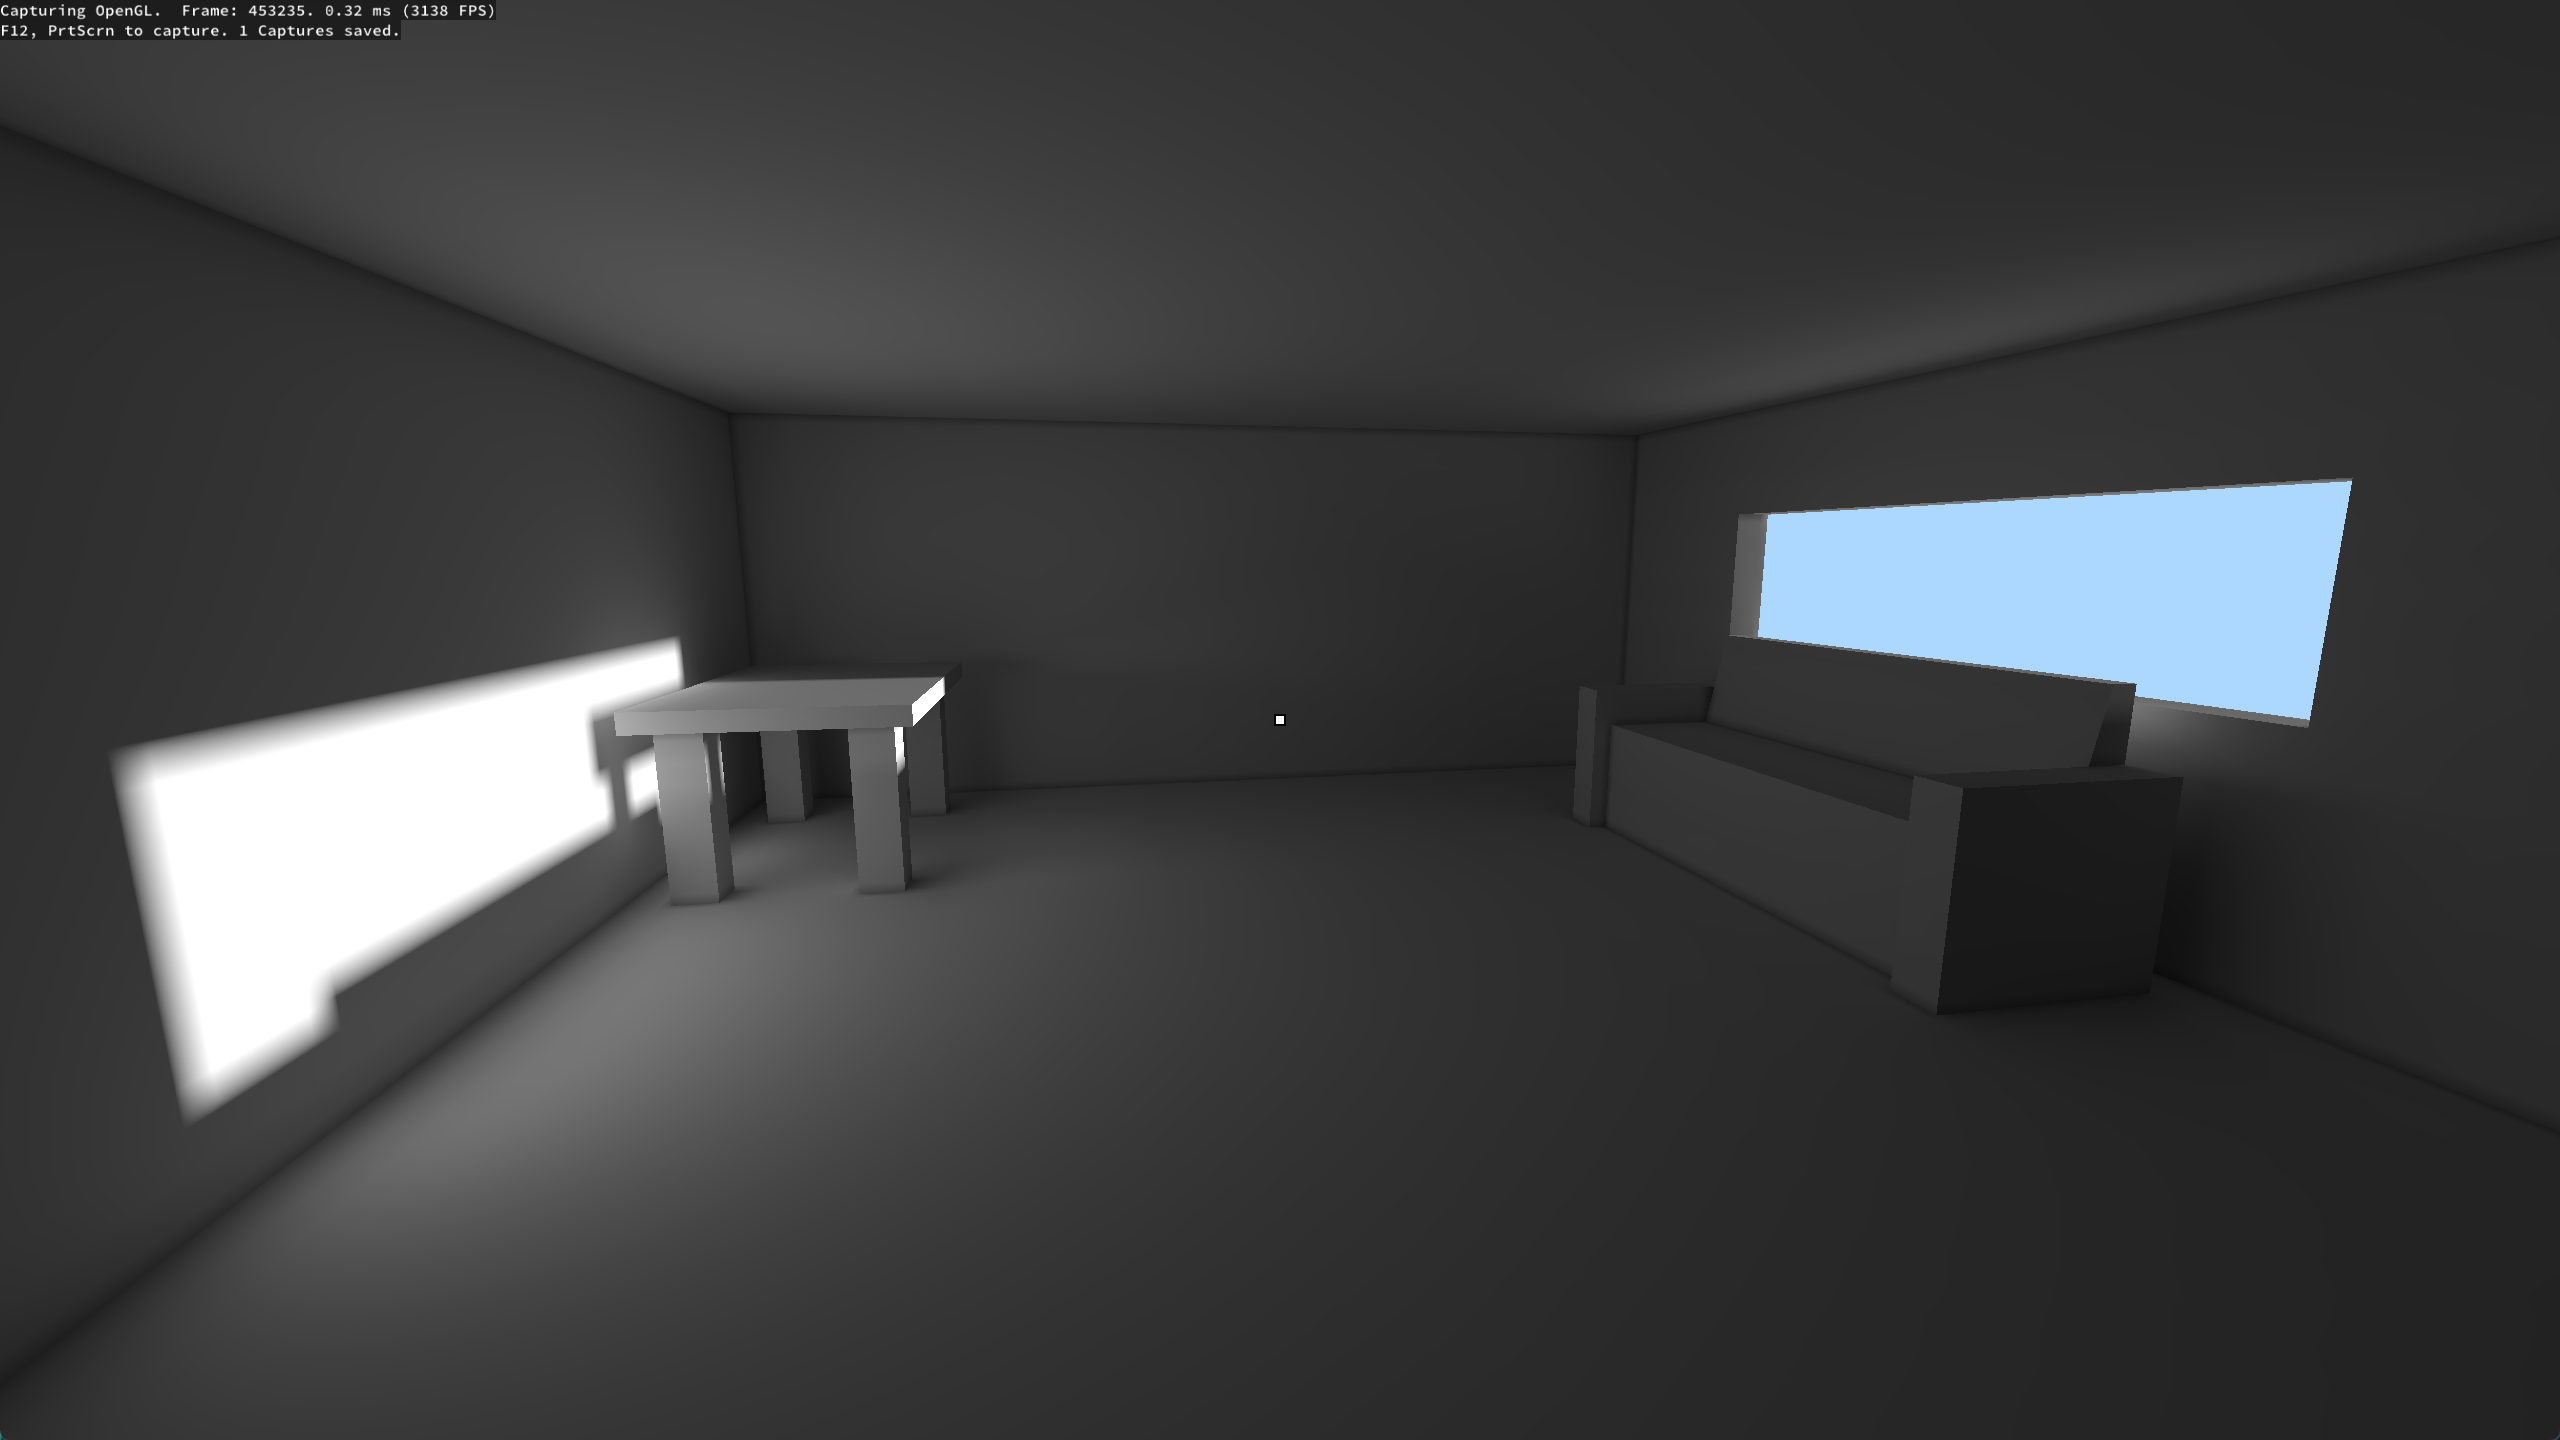
It's been a while since I documented any of the work I did on my side projects, and this being my first time proper implementing global illumination I wanted to share some screenshots and talk about my approach.

My game is at a point where I want to have some nice lighting in the levels. Since I am aiming for a Quake-style aesthetic, I looked into writing a lightmapper for my game. I wanted to generate a mega-texture that covers every surface in a level and have each texel of this texture cache a lighting intensity value such that for any given point on a surface I can query the lighting at that point. All of my level geometry and lighting is static, so I thought this approach would work well. Precomputing lighting like this is still often done for modern games, and it seemed like an interesting challenge.
In the physical world, photons emitted from a light source will interact with the surrounding environment, bouncing around and scattering in different directions until their energy gradually dissipates. Photons do not only hit surfaces directly but also reflect off surfaces to hit other surfaces. This leads to an iterative process where surfaces emit and receive light from one another until the environment reaches a stable equilibrium. This is the essence of global illumination: to capture both the direct and indirect lighting present in a scene.
The first step is mapping the 3D level geometry to a 2D lightmap. My level editor creates and manipulates flat faces which are just sets of of coplanar vertices. All of my level geometry is made up of these flat faces, so my task is simple: take each face, generate a lightmap for that face, then pack the lightmaps of all the faces into a large texture atlas making sure to generate the correct UVs.
I project each face onto a plane spanned by basis vectors U and V (derived from face vertices and the face normal) with one vertex as the origin. By projecting each vertex onto U and V, I map its world coordinate to the local lightmap coordinates. I keep track of the maximum u and v values to set the lightmap dimensions.
Each square of the grid (i.e. each texel of the lightmap) represents a discrete surface area in the level/world. I will refer to these as surface patches. The core idea of lightmapping is that each patch records how much light it receives from the surrounding environment and light sources.
In implementation, I have a large 1D arena from which I grab the memory required for each local lightmap. Once the local lightmaps and UVs have been generated, they are tightly packed into a single texture atlas. I use stb_rect_pack.h for this. Once all the local lightmaps have been packed into the larger global lightmap atlas, I remap each local lightmap UV to a global lightmap UV.
Now, I can output the lightmap UVs as part of the level geometry mesh, and I can serialize out this lightmap texture (done when compiling/exporting the level) and load it into the game. The lightmap is not populated with any lighting data yet.

Right: patches visualized with their unique ID as color
When rendering the scene in game, light is sampled from the pre-cached values in the lightmap texture. If multiple fragments in the render occupy the same surface patch, all of these fragments will sample the same texel in the lightmap and have the same lighting, and the patches will appear very obvious (like in the visualizations above). Enabling texture filtering on the lightmap creates smoother lighting across surfaces.
When I did this, I noticed visible seams where one surface meets with another. Since the local lightmaps of surfaces are packed together into a large texture atlas, some lightmap texels were bleeding into other lightmaps during texture filtering. I fixed this by adding a single layer of padding texels around each local lightmap. These padding texels store valid light values too, so sampling them in texture filtering leads to smooth lighting transitions between surface seams.

Right: bilinear filtering, padding texels around lightmap boundaries gets rid of seams
Each surface patch stores data needed for lighting calculation such as its position and normal in world space. I iterate through the large 1D buffer (which contiguously stores the texels/patches of all lightmaps) and for each patch I cast rays from every light source to check for occlusion. A texel/patch calculates and accumulates direct light from unoccluded light sources.
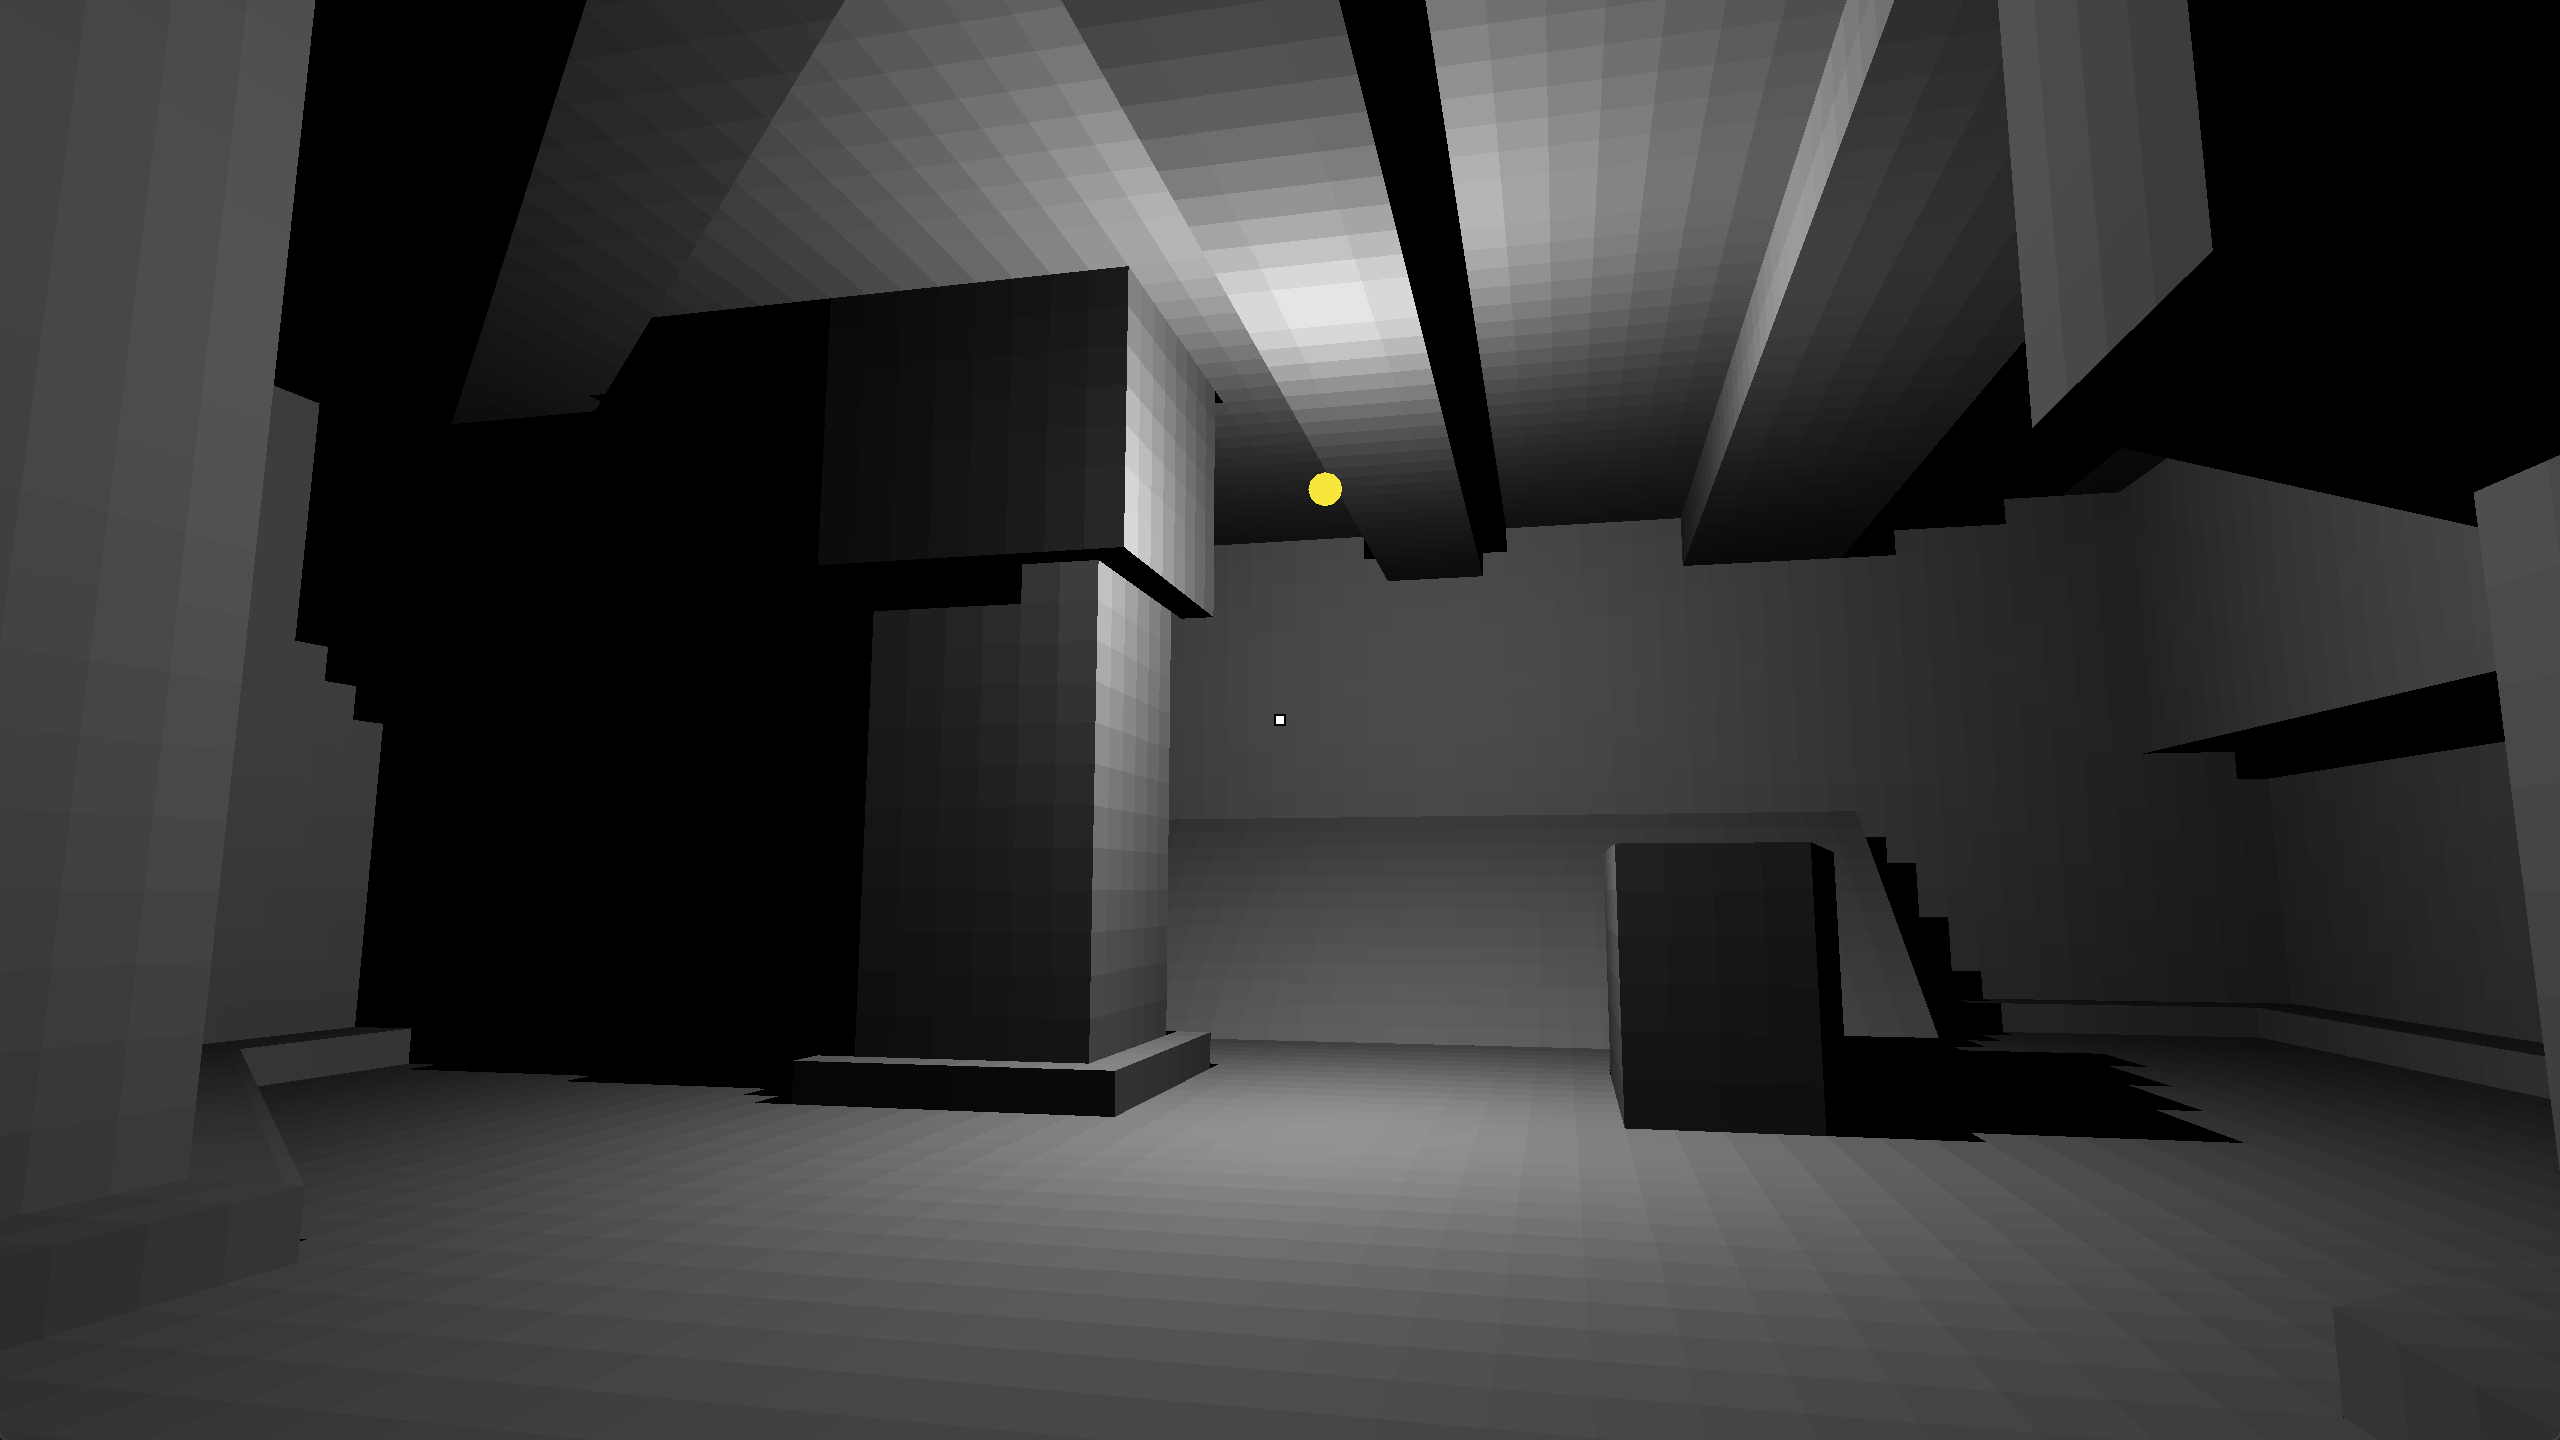
Each face is a flat polygon in 3D space and the colliders for these polygons are stored in an octree, so casting rays from light sources to every single patch really doesn't take long. It's trivial to accelerate with multithreading: for ~50,000 patches on an i7-12700K, it takes about 1.375 seconds on a single thread and 0.25 seconds on 10 threads. More importantly, it takes almost no time compared to indirect lighting computation which accounts for most of map compilation time.
For each patch, I actually use four sample points. By taking the average lighting across multiple sample points, shadows look less jagged when patches are only partially occluded.
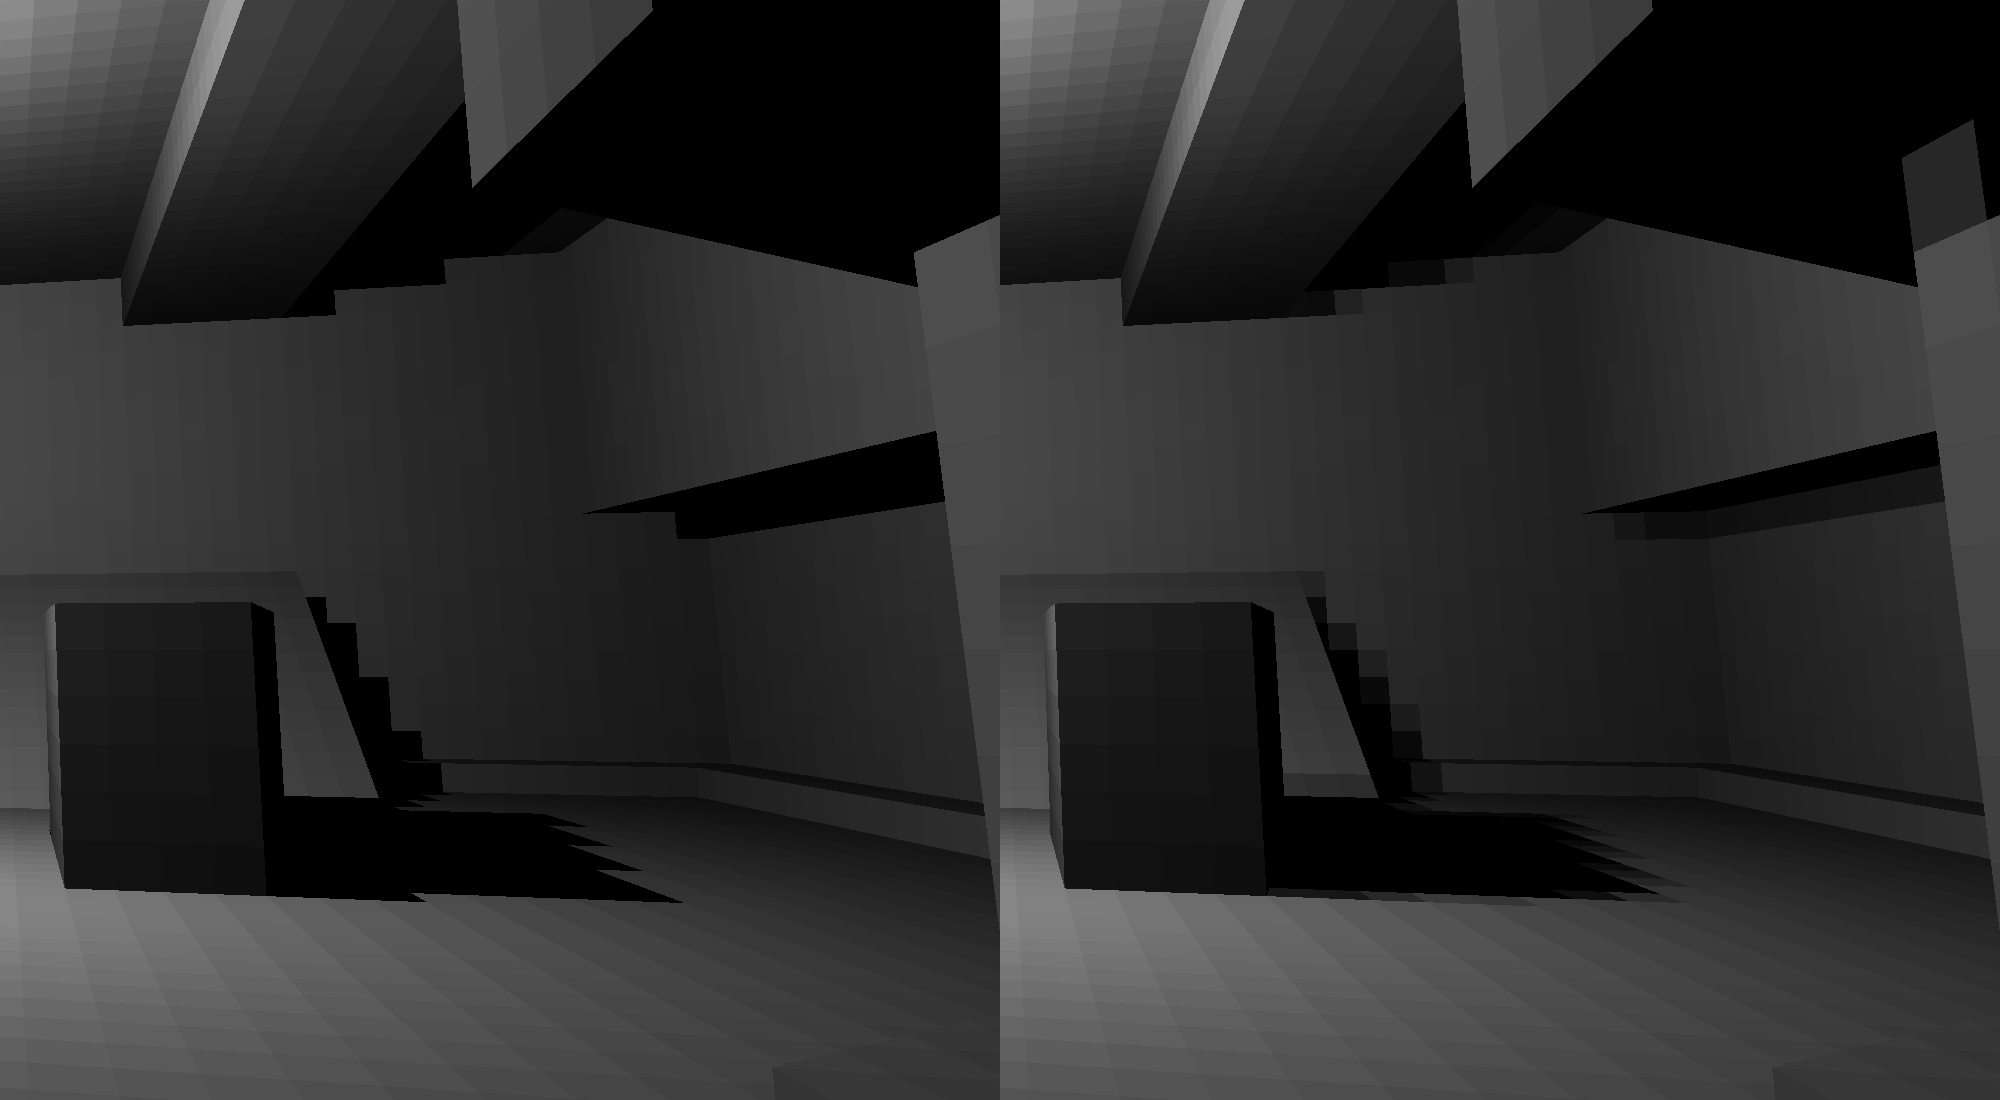
Initially, I was implementing a full Radiosity algorithm, but while digging around I learned about a simpler and more intuitive way to think about indirect lighting.
In the physical world, what we see with our eyes are the photons emitted from light sources that have bounced and scattered until they happen to enter our eyes. Imagine we place our eye on a surface patch in the scene. In the same way that light bounces around and hits our eyes, what we see from the patch is exactly the light that bounces around and hits that patch.
Imagine we take a picture of what we see from the surface patch. Each pixel of this picture records the light intensity and colour of the photon that bounced (into the camera) from the object captured in the pixel. By integrating the lighting across the picture (adding up the light from each pixel) we find the total amount of indirect light that hits that patch.
We can simply walk a camera over every surface patch to calculate their respective indirect lighting. In the first iteration, the scene only contains direct lighting, so the picture that we take only records the first light bounce (the light that bounces into the eye off surfaces that are directly hit). In the second iteration of walking the camera, every patch has already received indirect lighting from the first bounce, so the second picture also records the second light bounce.
The "picture" is a simplification. A single image cannot record the entire hemisphere around a surface patch. To capture all the light that enters the hemisphere, we render a hemicube instead. Its five faces record the light entering the hemisphere from in front, above, below, left, and right of the patch.
This is the approach that I found worked best for my game. I landed on it after reading about Ignacio Castano's method for indirect lighting in The Witness. Referenced in his write-up is an old article by Hugo Elias on Radiosity which appears to be the go-to introduction to hemicube rendering for programmers.
I render the scene with a 90 degrees FOV for each face of the cube. Using a single framebuffer and pixel buffer object to avoid swapping, and rendering multiple hemicubes to the framebuffer before downloading off the GPU memory are important details for this method to be peformant.
Compared to The Witness, my hemicube drawing is faster because of a couple shortcuts. When rendering a hemicube face, I only need a single draw call because the entire level geometry is combined into one mesh (called the SceneModel - texture agnostic because I'm not using texturing for color accurate bounced light). The Witness precomputes indirect lighting but performs direct lighting in real time, which means direct lighting needs to be calculated per surface fragment for each hemicube render (in addition to generating shadowmaps). In comparison, my direct lighting is cached into the temporary lightmap used when drawing the SceneModel. This is good enough for the GoldSrc/Quake-era aesthetic I am going for.
Once the hemicube has been rendered, we need to integrate the lighting samples to get the total indirect lighting received. But we can't simply add up the lighting values sampled at each texel. Since light intensity depends on light direction, light coming from the sides of the hemicube should be weighed less than light coming from in front of the hemicube. Furthermore, our information is recorded in a hemicube when what we really want is the hemisphere around the patch. It follows that the lighting samples must be weighed depending on which texel of the hemicube it belongs to.
Imagine you're lying down and looking up from the point of view of a patch on the ground. Consider the hemisphere above you. Take a texel of the hemicube and imagine it as a square piece of paper. How much of the hemisphere does the paper block from your view? The region blocked from your view is the area on the hemisphere (solid angle) subtended by the texel.
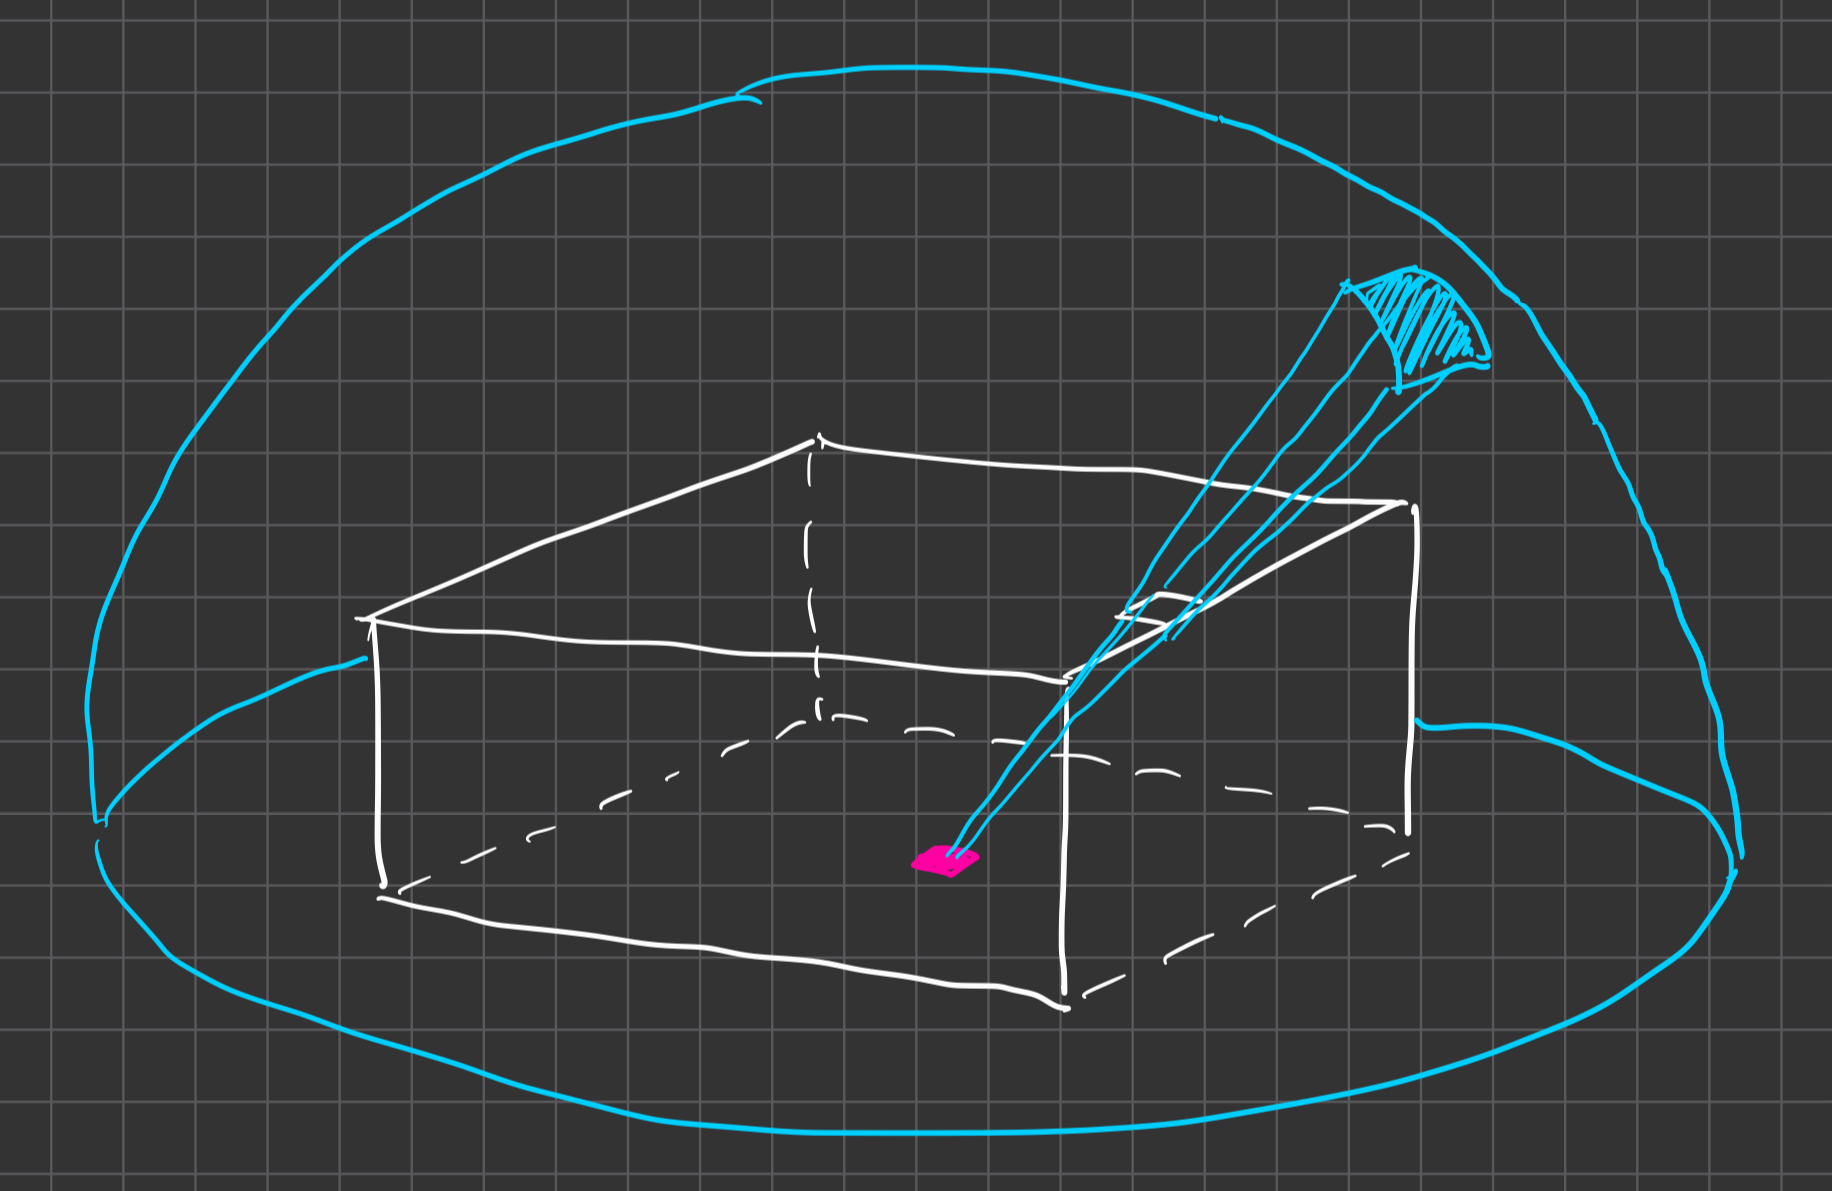
The light sample at the texel is all the light that enters the subtended region of the hemisphere. By nature of the hemicube's shape, the hemicube texels subtend regions of varying sizes on the hemisphere. Texels that subtend larger regions are sampling light from a larger region on the hemisphere. We compensate for this inequality by weighting each texel’s light sample according to the solid angle it subtends.
We also need to consider Lambert's cosine law to weight the light samples from the sides of the hemisphere less than those from the top. This is done simply by taking the cosine of the angle between the surface patch normal and the vector from the patch towards the texel. We scale the solid angle by this cosine to get the texel weight we want.
These texel weights need to be normalized because the weights must add up to 1 by definition. With the solid angles we could normalize by considering the percentage of the hemisphere that solid angle covers, but we can't do that if these solid angles have been scaled by different cosines...
As explained in the original hemi-cube paper, multiplying the solid angle by the cosine has the effect of orthographically projecting the solid angle down to the base of the hemisphere.
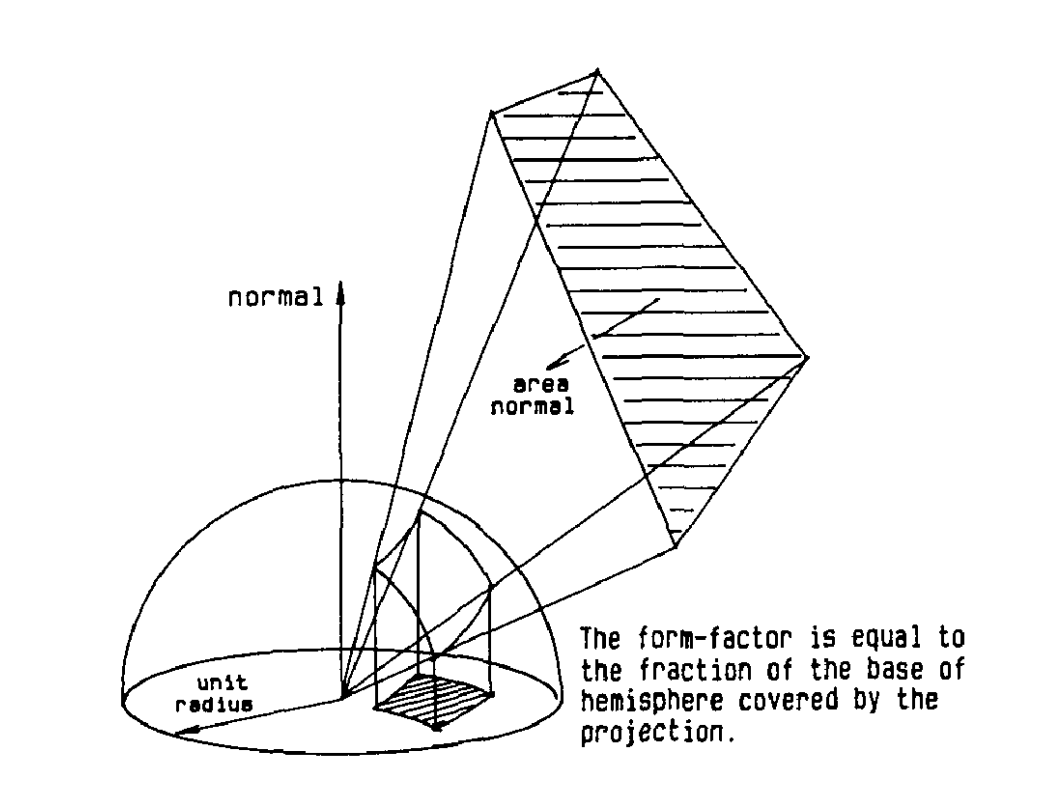
So instead of considering the percentage of the hemisphere covered, we can think about texel weights as fractions of the base! We simply calculate the solid angle, scale them by the cosine, then normalize so that the weights add up to 1. Then, we can finally use these weights when integrating the light samples.
Neither of Castano's nor Elias' articles provide this sort of complete explanation of the hemicube method, so hopefully this fills any gaps left by those.
One thing to note is that the solid angle calculation in the original hemi-cube paper and the articles above is not actually the exact solid angle subtended by the texel because it does not take into account the geometry of the texel. Castano's article briefly alludes to this, but I think it's a good enough approximation.
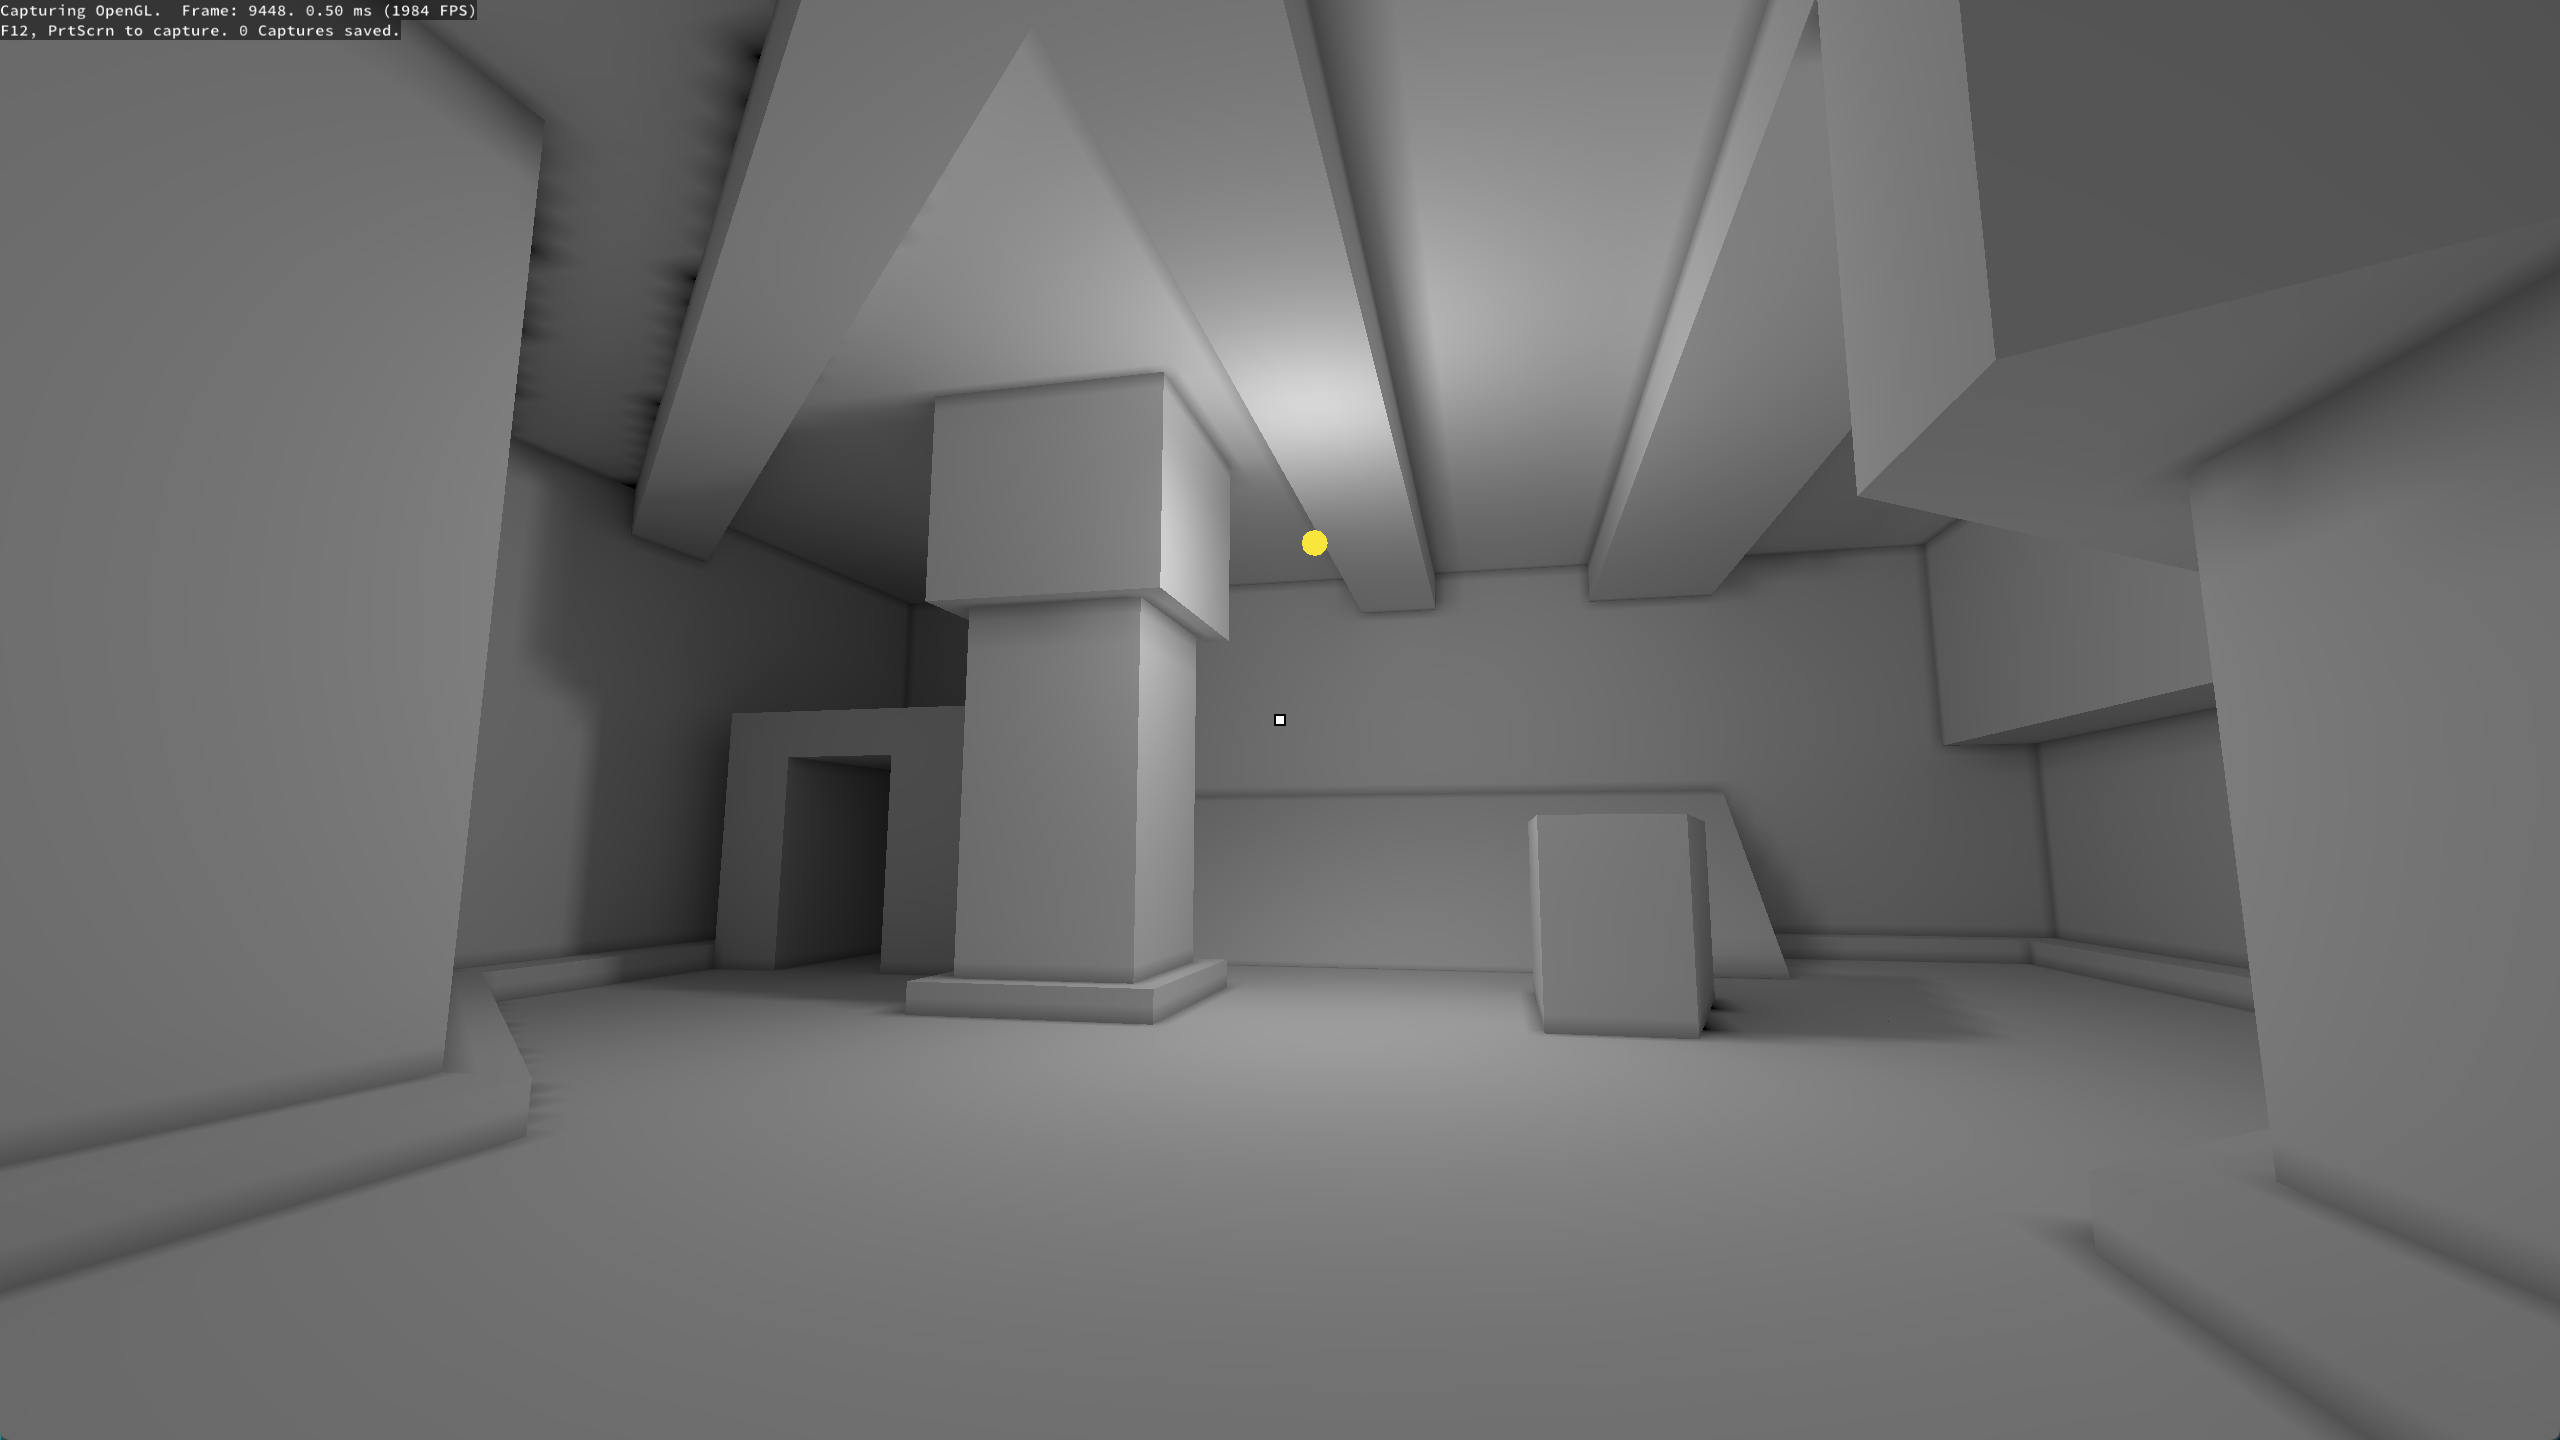
With this hemicube rendering approach, the lightmap gives some pretty good results. Areas occluded from direct light are illuminated from bounce lighting, shadows are soft, and ambient occlusion is naturally present. There are still some artifacts, namely the dark jagged patches that appear when patches overlap other geometry, but I'll fix that soon with interpolation.
Applying the lightmap on the unlit test scene makes a night and day difference.
I'm pretty happy with the results. I'll revisit lighting once the game is further along, but for now this will suffice.
There are lots of improvements I could make. My lightmap resolution is very low, so I could benefit bicubic texture filtering instead of bilinear filtering. I also played around a bit with irradiance caching which exploits the fact that, unlike direct lighting, indirect lighting changes relatively slowly over a surface. This means we can cache the indirect lighting at a few texels then smartly interpolate the indirect lighting for every other texel. I want to look into that more in the future, but for now what I have works and I can move on to making the rest of the game.
https://www.ludicon.com/castano/blog/articles/hemicube-rendering-and-integration/
https://web.archive.org/web/20160303205915/http://freespace.virgin.net/hugo.elias/radiosity/radiosity.htm
https://dl.acm.org/doi/pdf/10.1145/325165.325171